My
first real, disciplined project took the shape of a long, single-handed
double-edged tenth-century Viking style sword blade. I forged (with endless direction and correction from Jeff) it from a single piece of steel;
actually a car’s leaf spring, most likely of the designation 5160, which is an
alloy steel specifically produced for the making of springs. It contains very small
proportions of chromium and silicon in addition to the prerequisite iron and
carbon, which define “steel” in general.
 |
| Early incarnation of the blade |
Jim was extremely generous with my use of his incredible equipment, particularly his immaculately maintained Nazel 3B air hammer. The hammer herself was less forgiving, and it took me a long time to begin to use it with any finesse. Once you have become familiar with the movements, however, your control can be impeccable. A literally unimaginable amount of power in muscle suddenly becomes an extension of your body whose precision depends on that of your foot.
 |
Jeff refining some bloom (I believe from Mark Green?) on the Nazel
|
 |
| A slightly more exciting photograph of the same thing (credit Ryan Burkhart 2012) |
The Nazel was what I used for the majority of my forging. I started with the tang, hefty and thick, and then turned it around and started forging the profile of the blade from the tip back to the tang. Then, I put a spring-fuller between the dies and used it first for the fuller and then, ever so gingerly, on the edges, to bevel them from the edge of the fuller outward. This is the part that's hard to write about. All the hours I spent then on the blade are really now a blur of hammering, straightening, twisting, measuring, eyeballing, sighing, filing, and grinding. It's the work of several weeks, but making your first sword is really one of those "you don't know 'til you've done it" journeys. Nevertheless, the day eventually came when it was ready for heat treatment!
 |
| Talented but perhaps less-than-serious Nathan Smith, recklessly swinging his 600+-layer grosse Messer about, on the day I heat-treated my first sword |
So, on the day my sword was heat-treated (the process consisting of hardening and tempering, when the blade is imbued with the ability to be sharpened to a cutting edge and then with the capacity to flex under duress and return to true), Nathan was also heat-treating his grosse Messer, and Jim and Jeff were conducting a viking-age iron smelt in the front courtyard of the shop (which I will address later).
 |
| Quench tank filled with heated oil (left) and a heat-controlled tempering oven (right) |
Also hanging out were
Niels Provos and
Nina Heckman, each exceptionally talented bladesmiths on their own. Come to think of it, it was a pretty crazy day, with a lot of people working on their own projects but sharing a passion and excitement throughout the day and space.
 |
| Watching the smelting process |
Anyhow, amid the madness, I got my sword blade up to temperature, and quenched it!
 |
| Niels, Jeff and I examine my sword pre-hardening (credit Ryan Burkhart 2012) |
 |
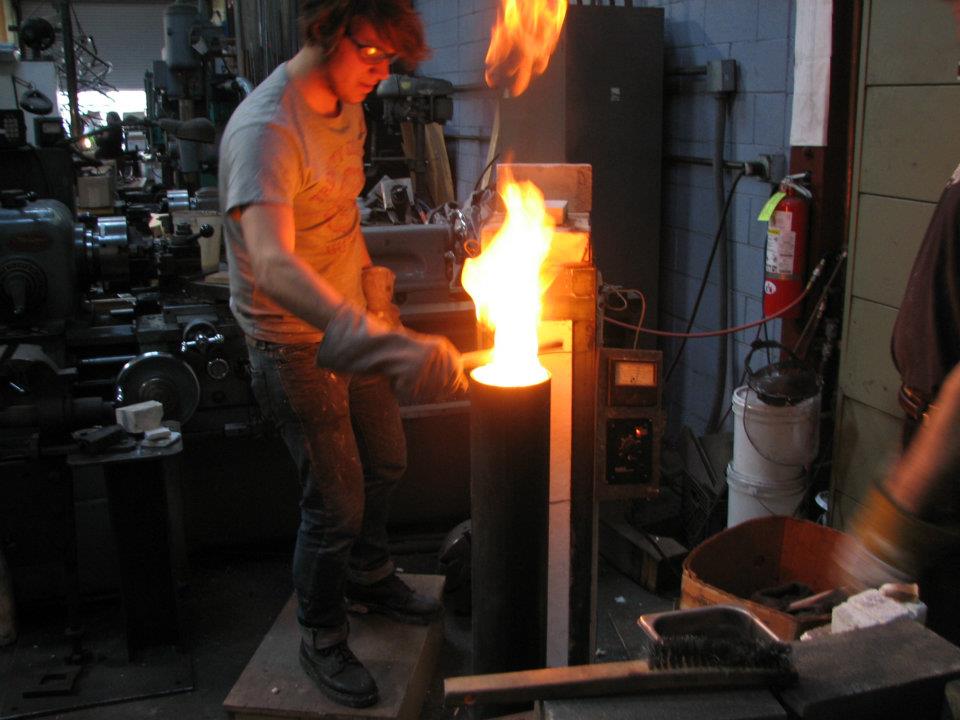
| At 1525 degrees F, the quench! |
I had welded a handle to the end of the tang at Jeff's suggestion so the sword could hang vertically in the oven. That way, unlike in a horizontal oven, gravity would not act on the sword to warp it. Also, I could lift it vertically and plunge it into the quench tank vertically, in one simple movement to insure against uneven angles. The quench-hardening process is such a radical micro-structural change for the steel that any uneven grinding, uneven heating, or uneven movement will almost certainly contribute to warpage.
 |
| That's normal. (credit Ryan Burkhart 2012) |
The oil ignites, even though it was pre-heated to lessen the shock of the hardening. I kept the blade steady in the tank until the temperature with the oil more or less equalized, after twenty seconds or so. Then I drew it out, wiped it off, and put it in Jim's big kitchen oven for the tempering.
 |
| Fits perfectly! Always good to have a large oven on hand, or a kitchen in your shop. |
|
|
The hardening process gives the blade the ability to hold an edge, but it's brittle. The tempering process reduces the brittleness and provides flexibility and durability while minimally reducing hardness. In tempering, I brought the blade up to about 500 degrees F for about an hour, let it cool down, and then repeated this twice more. With each temper the blade becomes more flexible and slightly less hard. This is a good time to deal with slight warps.
 |
| Correcting a warp under the fly press (credit Ryan Burkhart 2012) |


No comments:
Post a Comment